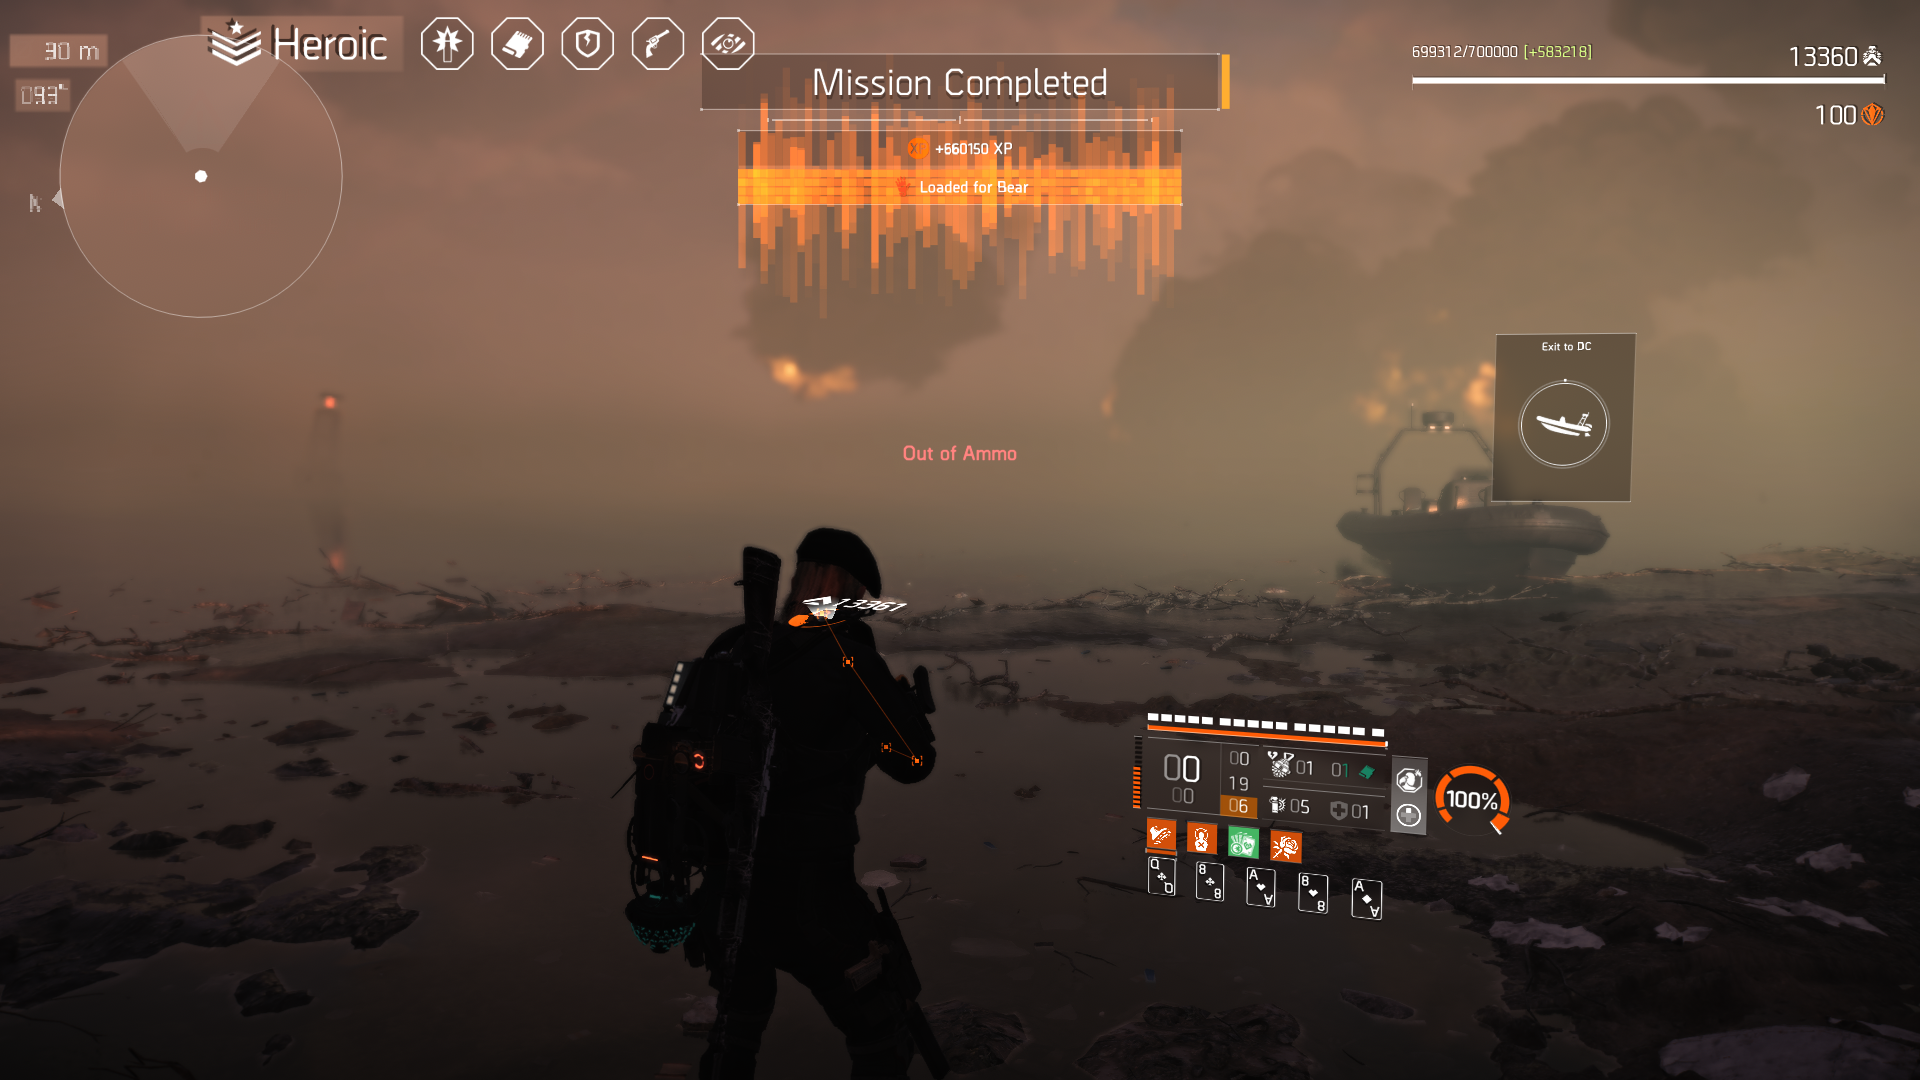
This is a Climax Mission Red Horizon for Bobby Guzman, you need to complete the entire manhunt scout tasks then complete this mission once on a lower difficulty before Master difficulty unlocks.
My target priorities in order first were ranged attackers (drone operators/grenade throwers/snipers) to keep my cover position safe. Heavy Tank Cleaners with flamethrower, Warhounds, then the rest of the mobs.
Solo Master difficulty has less mechanics than Heroic amazingly. The strategy is to get as much space from enemies and hide in cover with Sniper Build to kill everything. Some parts we move forward then back so spawns won’t happen near us aka kiting enemies into previously cleared areas. Used Prima Donna Meta Build. Completing this guarantees the exotic gloves “Loaded for Bear” to drop at mission end screen for the first time. Some details might differ, these were just notes I made while playing, positions mentioned were always in cover hiding.
First phase
- Position starting area by ammo crate, shoot turret 1 panel
- Entire phase can be cleared from starting position
- Heavy Cleaners 2, shoot these guys in head approximately 4-6 shots dead
- Run on left side below to shoot turret 2 panel to complete phase
Second Phase
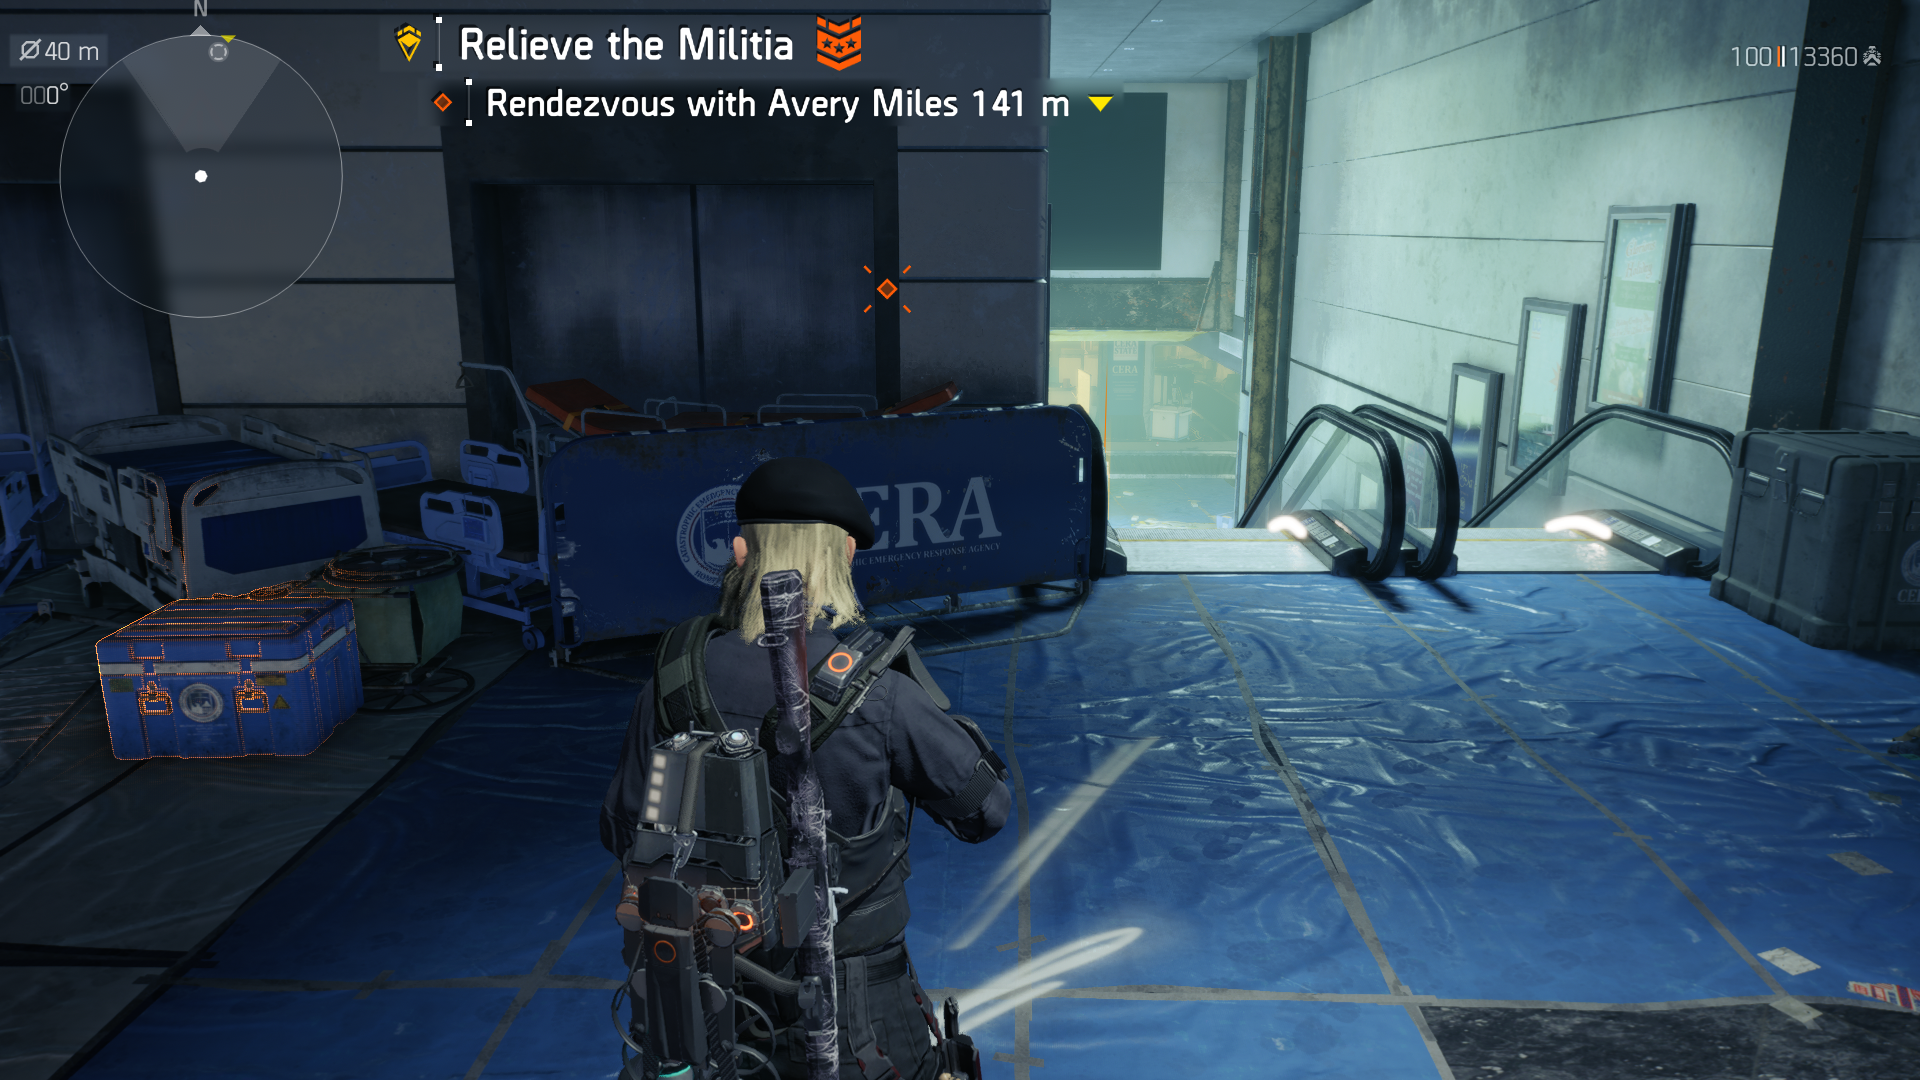
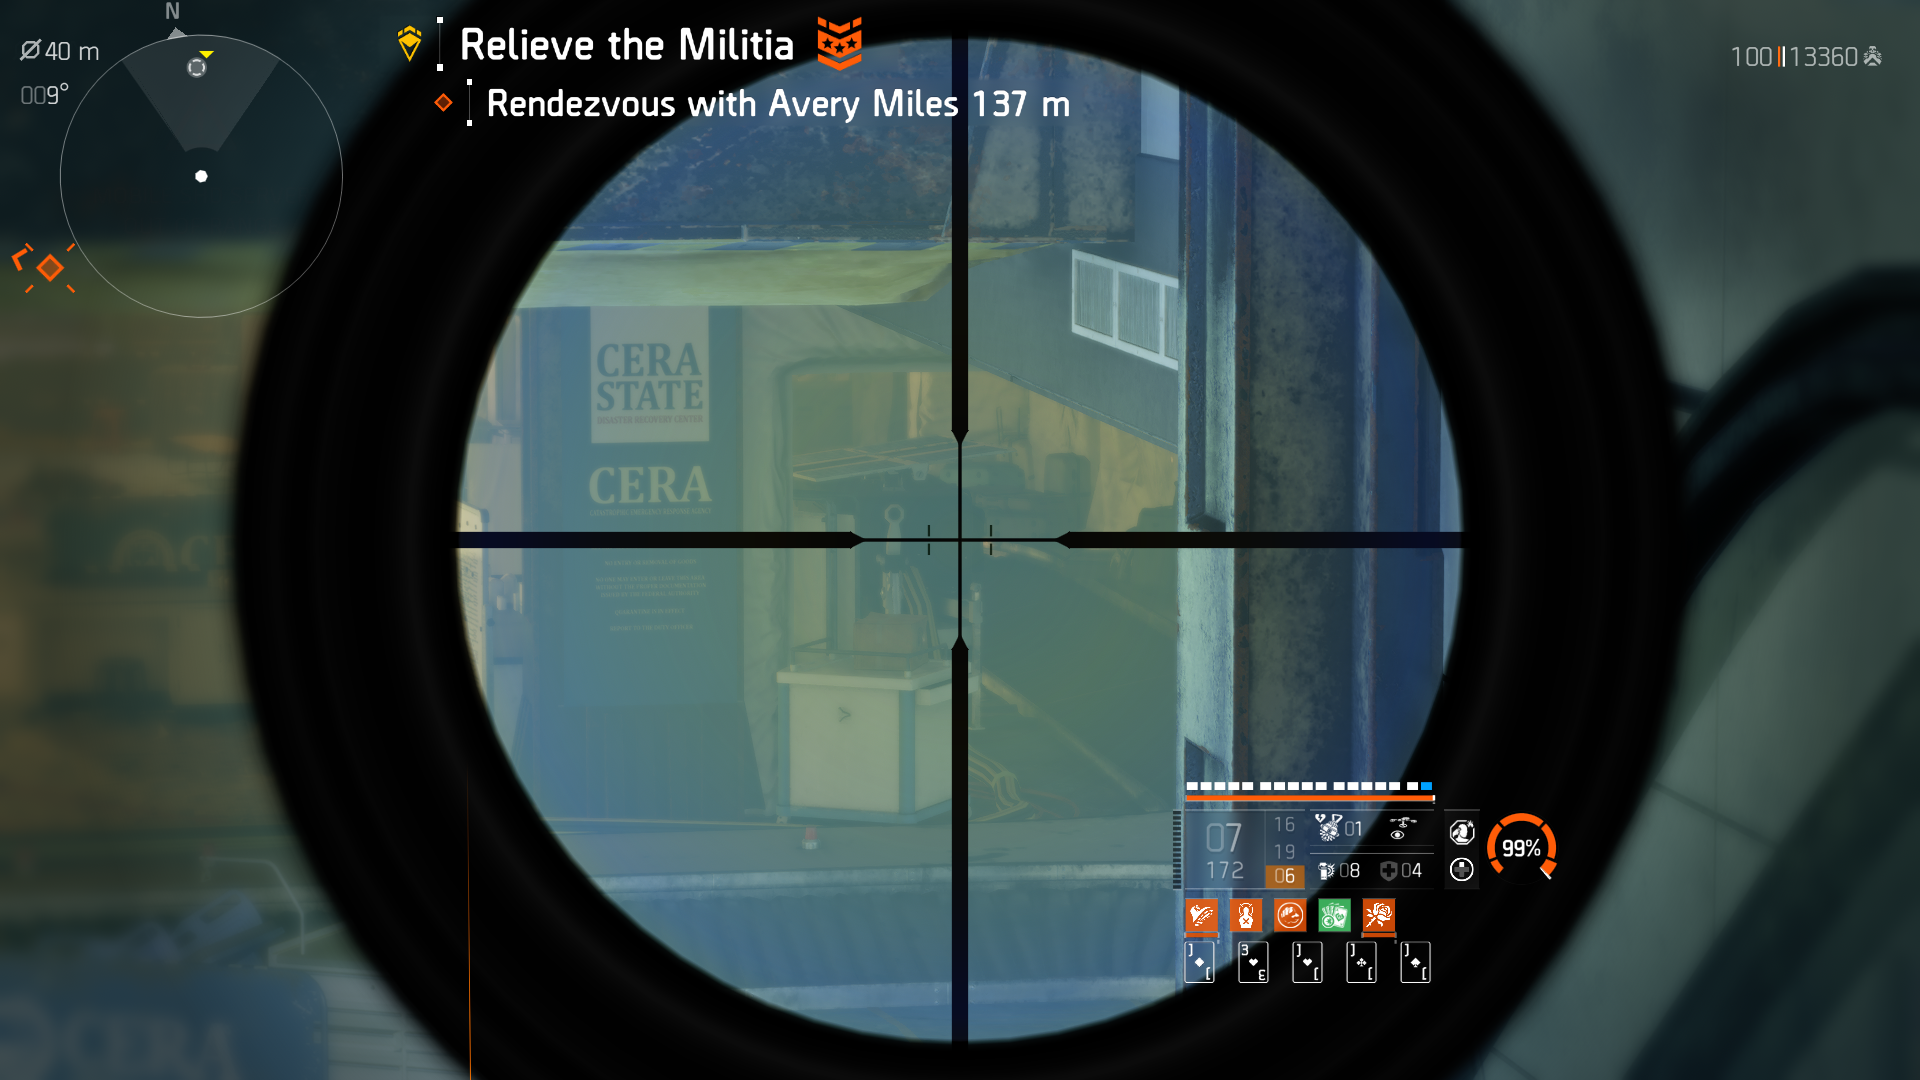
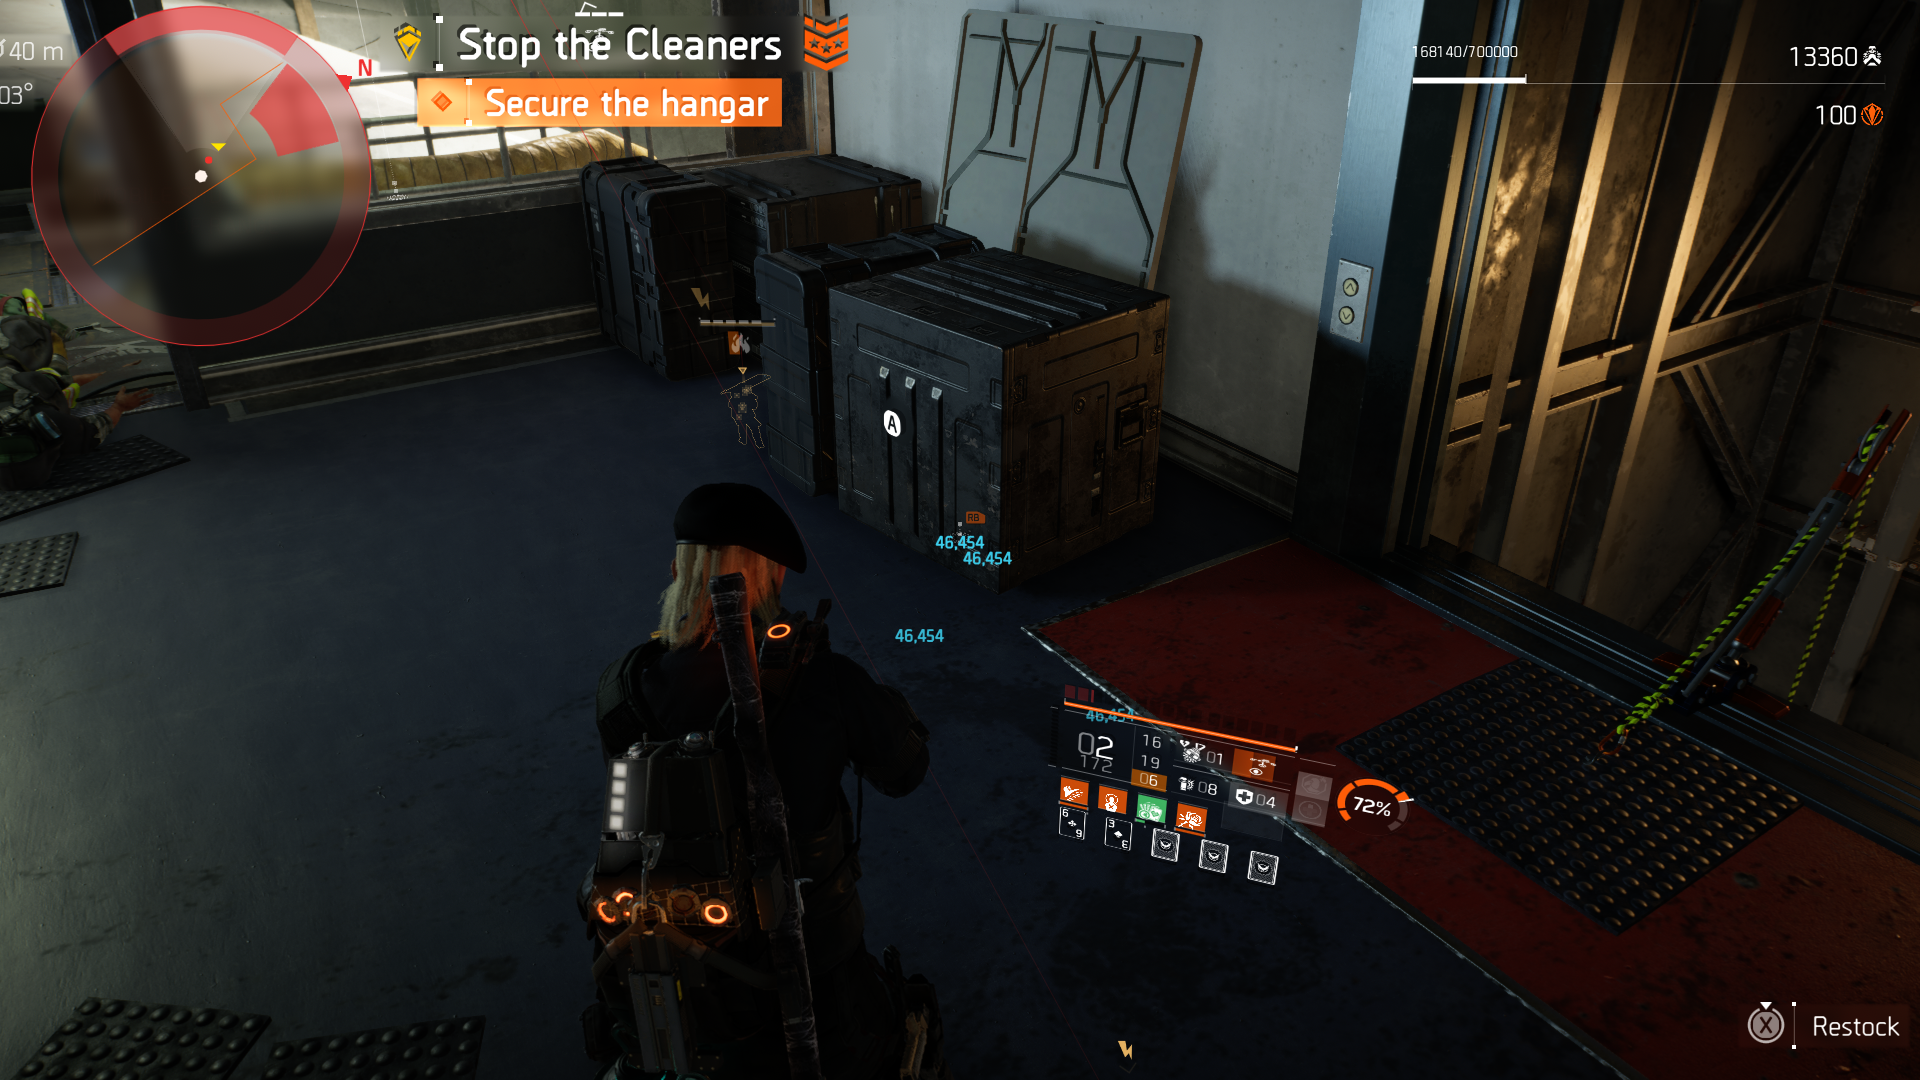
- Position near ammo crate
- Entire phase can be cleared from this position until only two snipers are left
- Heavy Cleaner 1
- Rushers with Jeffries shoot the drones above them to remove their protection
- Once mobs stop spawning move out of position to kill two snipers outside up high on right
- Kill final rusher comes down rope by ambulance on right far side of map
Third phase
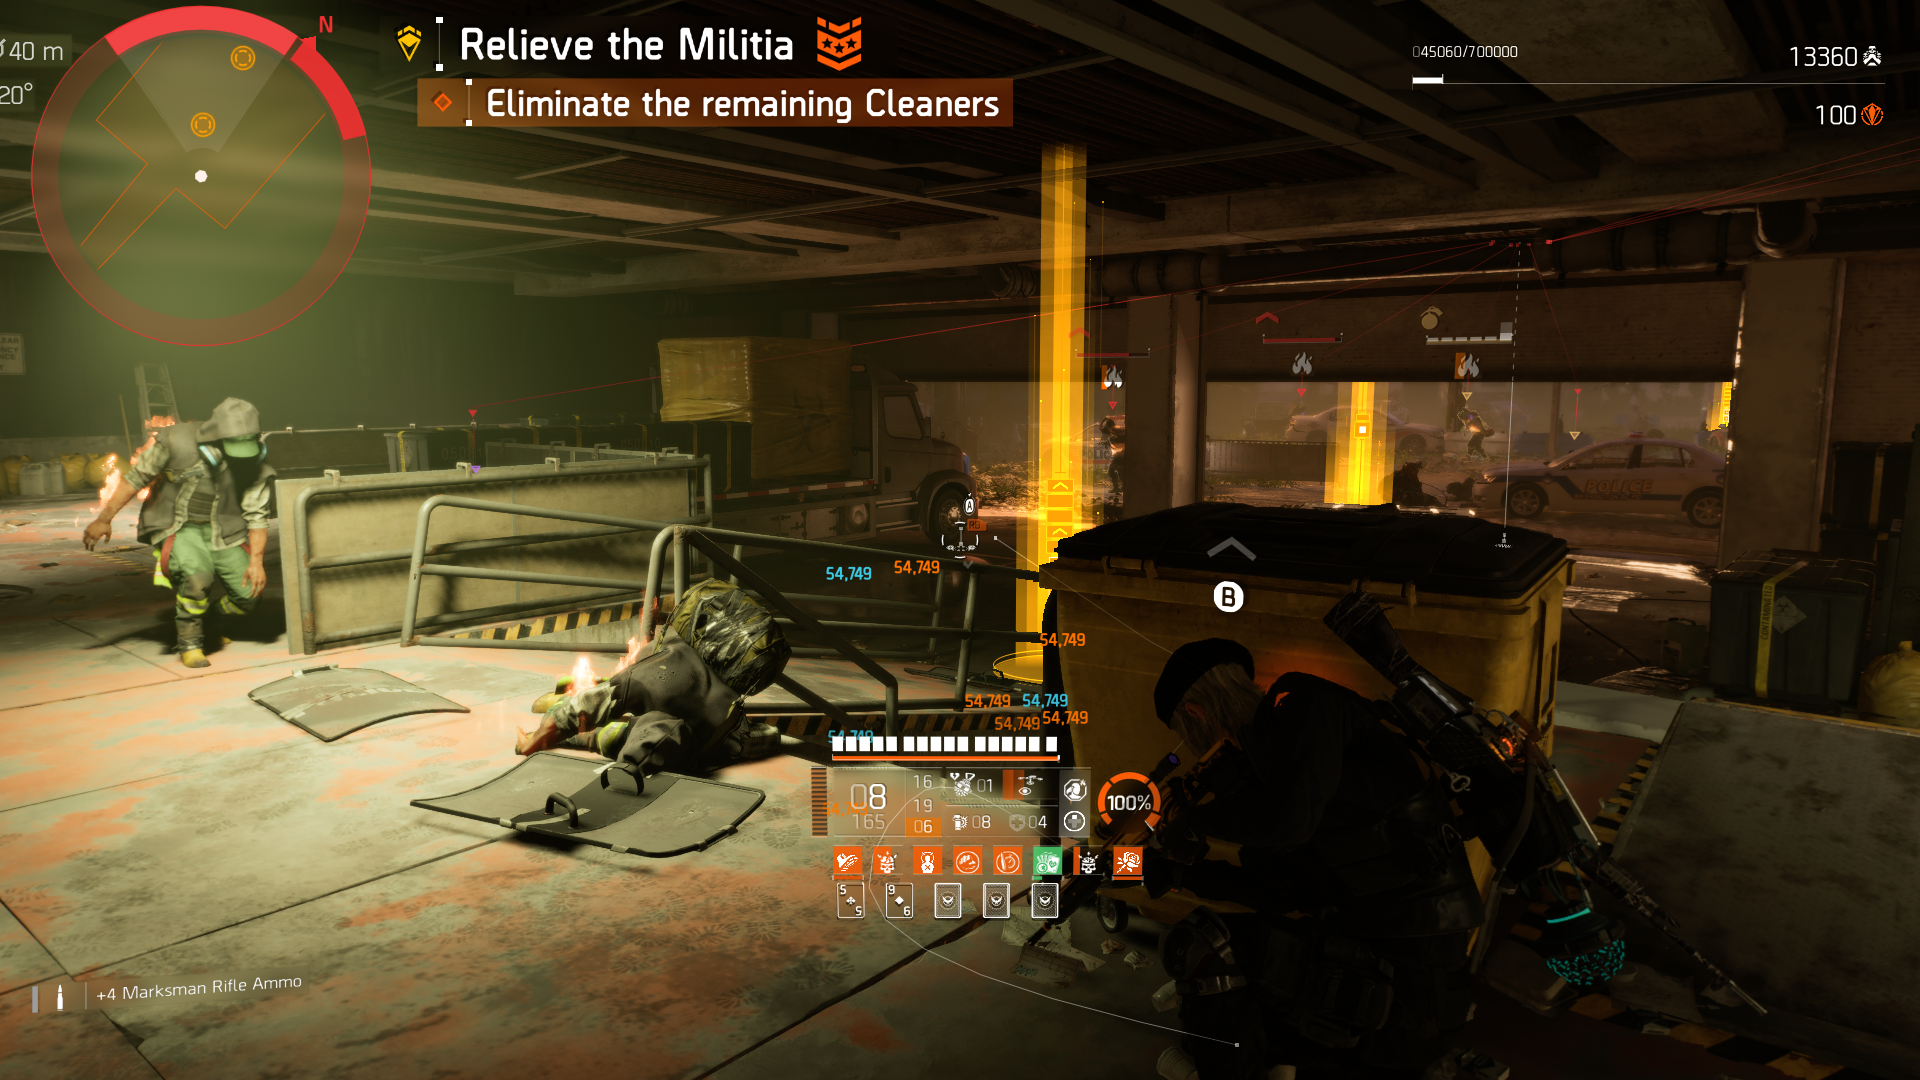
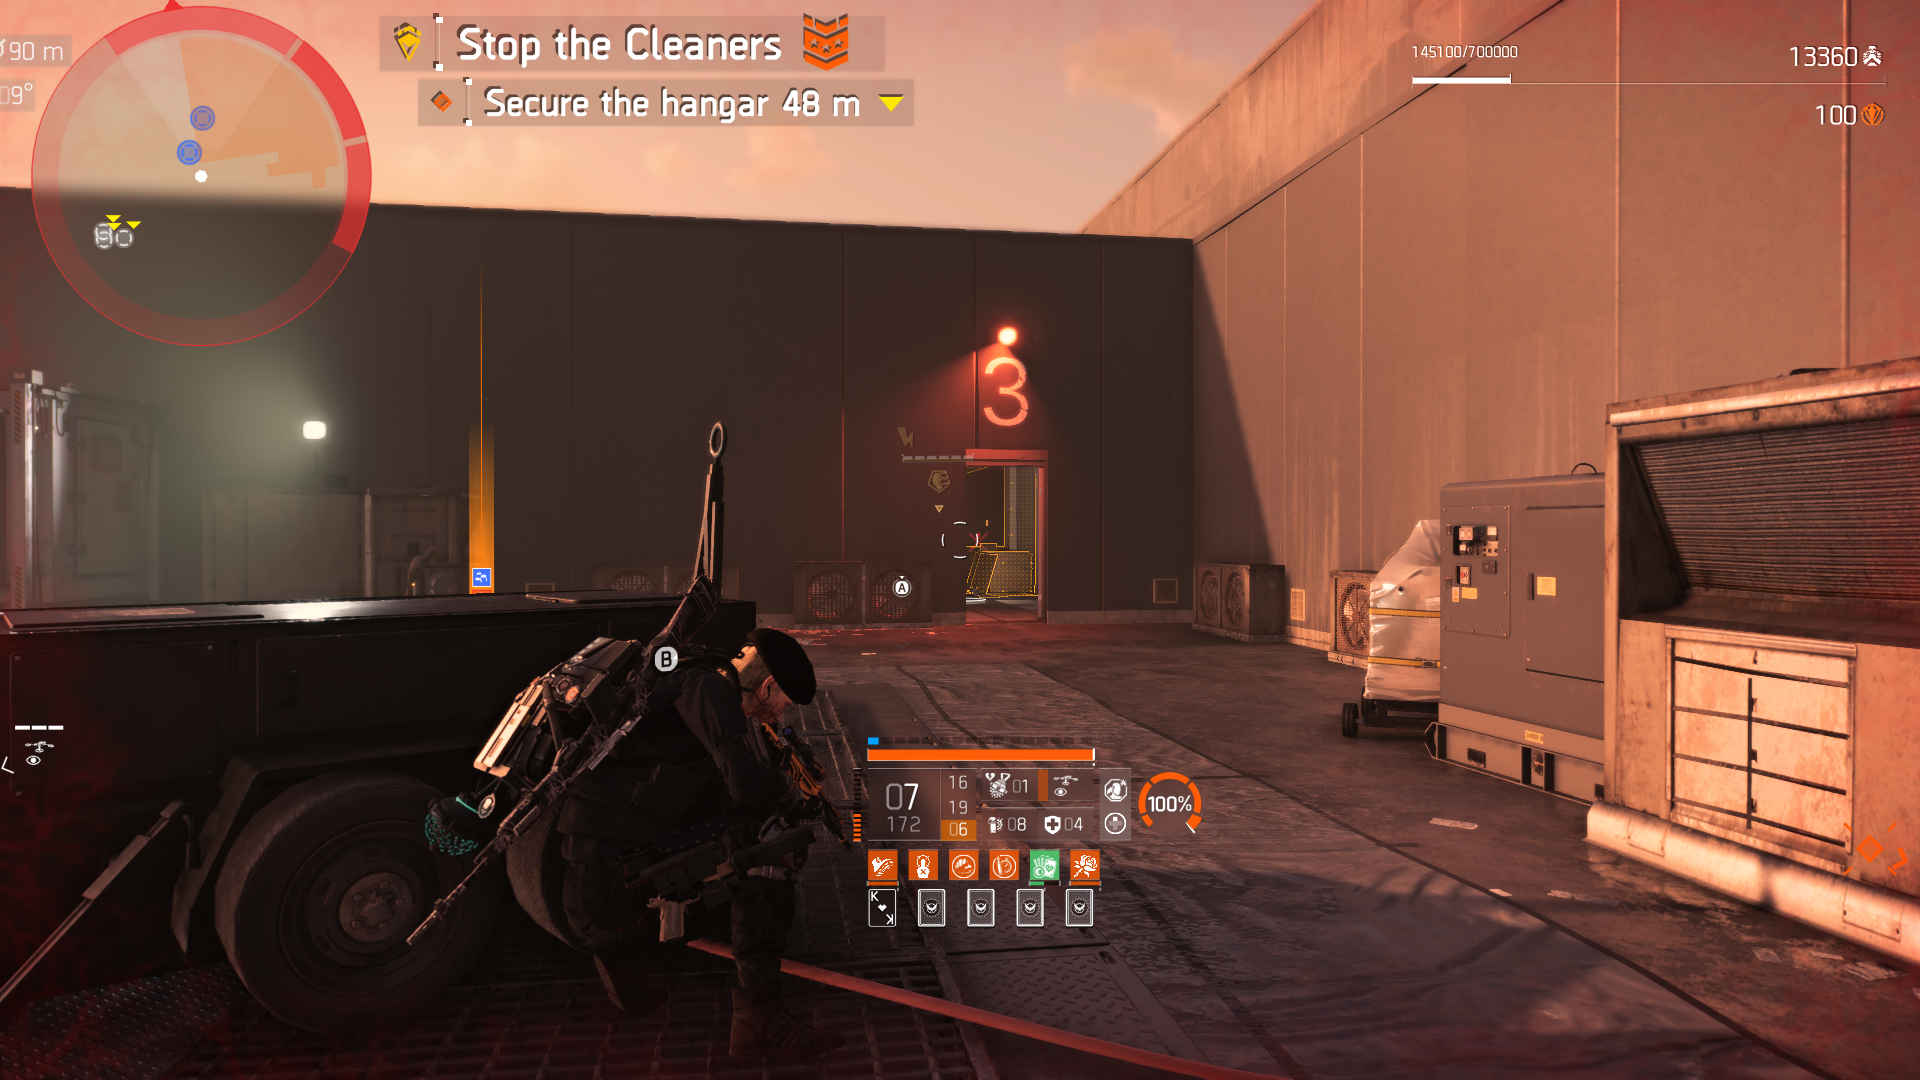
- Position rooftop by rope outside 3 door, clear 7 enemies that come out door
- We stay out on roof to make enemies come to us, they scatter otherwise inside
- Enter door to secure hangar
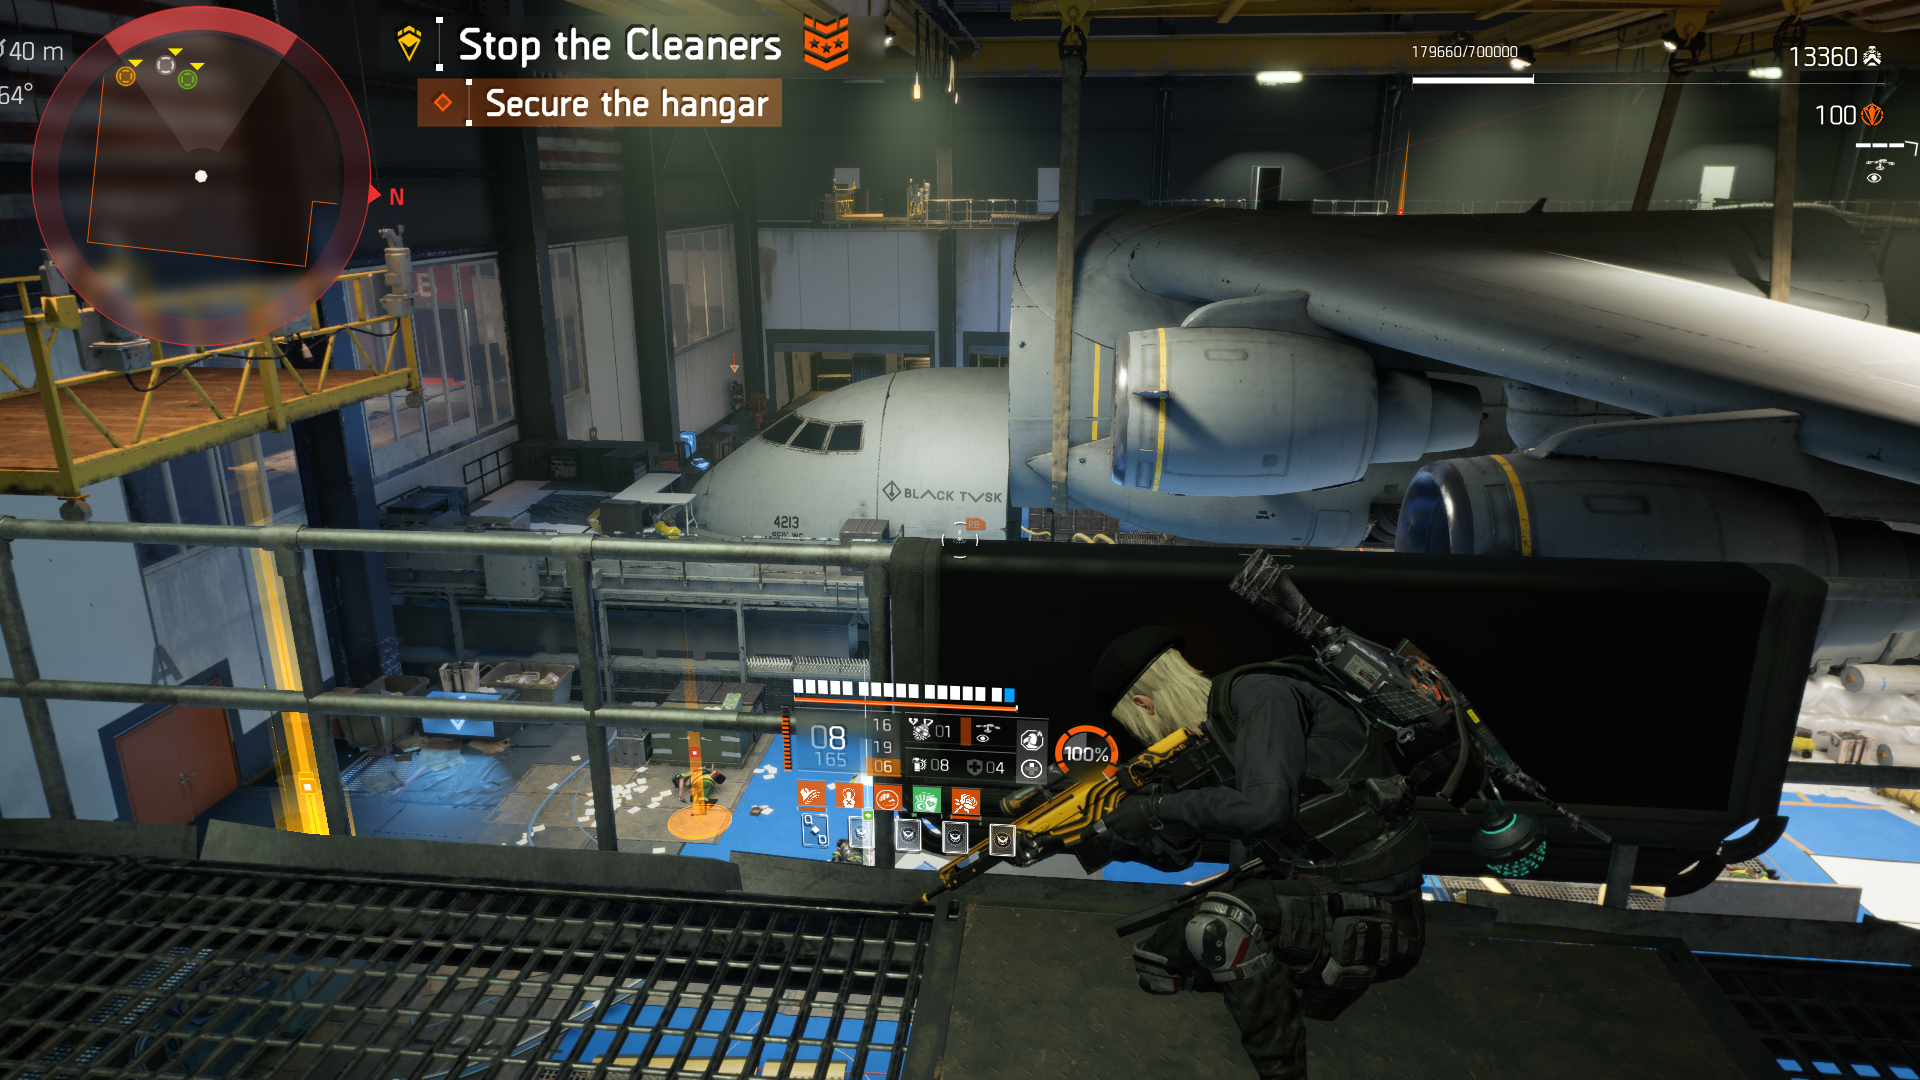
- Empty area but in combat up top
- Climb down rope then back up to trigger mob spawns
- Position up top kill mobs
- Rest of phase can be cleared from up top, a few enemies will come up rope to attack
- 2 Rogue Agents spawn below, easy kills from up top and last enemies here
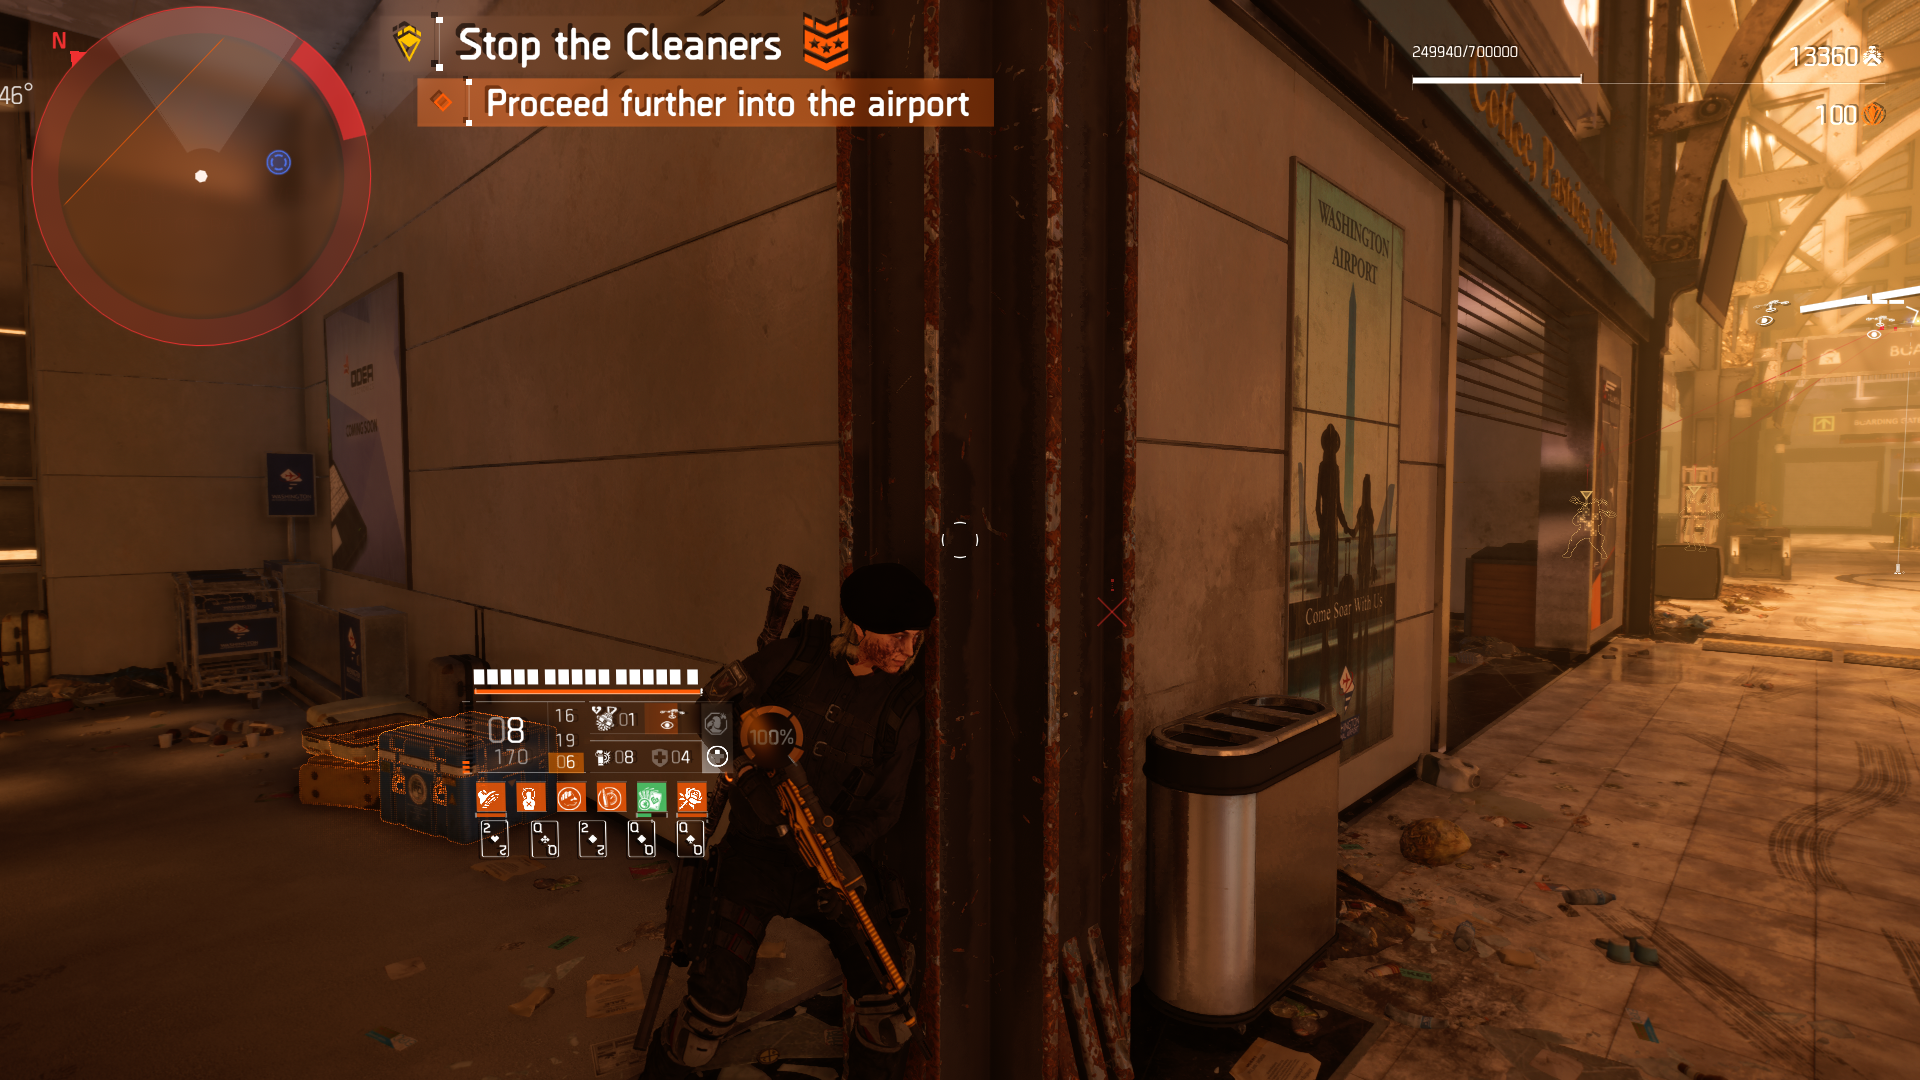
Forth Phase
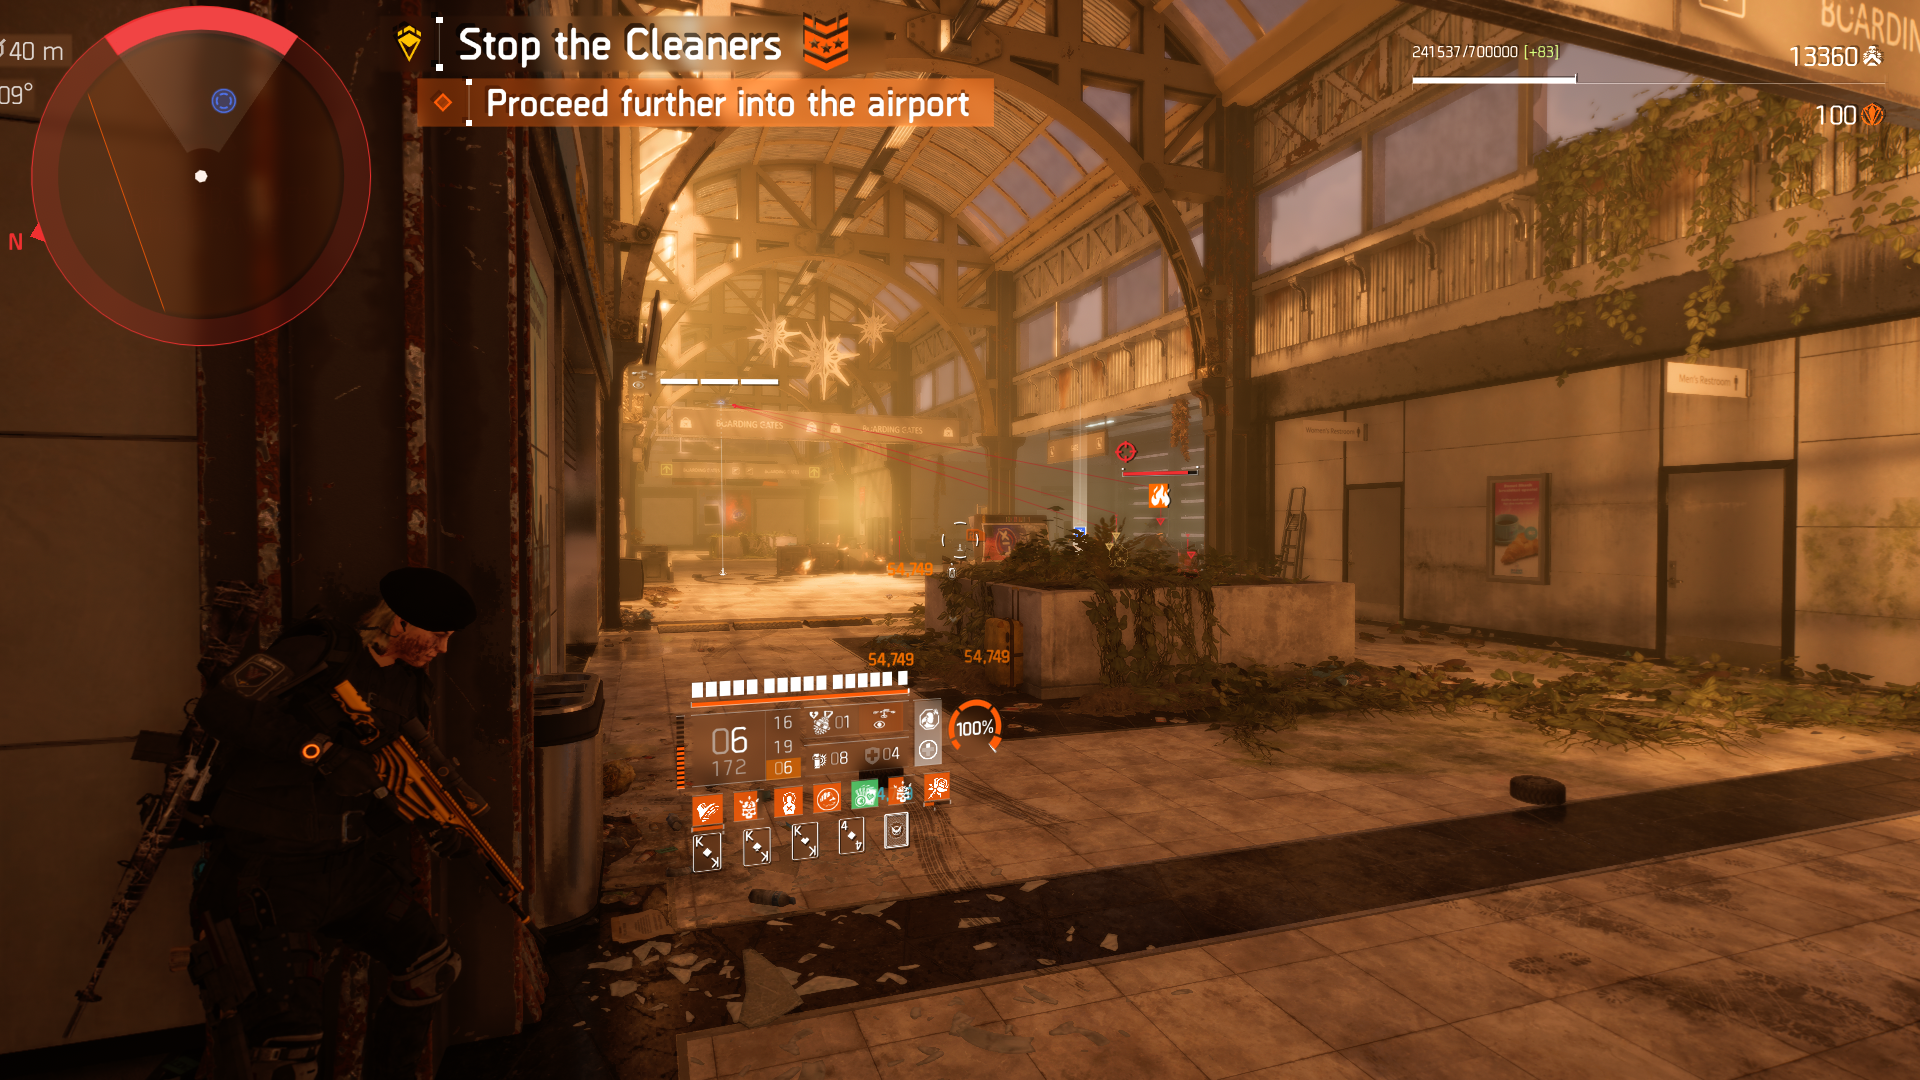
- Advance further into the airport
- Position in cover on wall corner by ammo crate
- Entire phase can be cleared from position
- Heavy Cleaners 2
- Can back track to entrance hall if needed
Fifth Phase
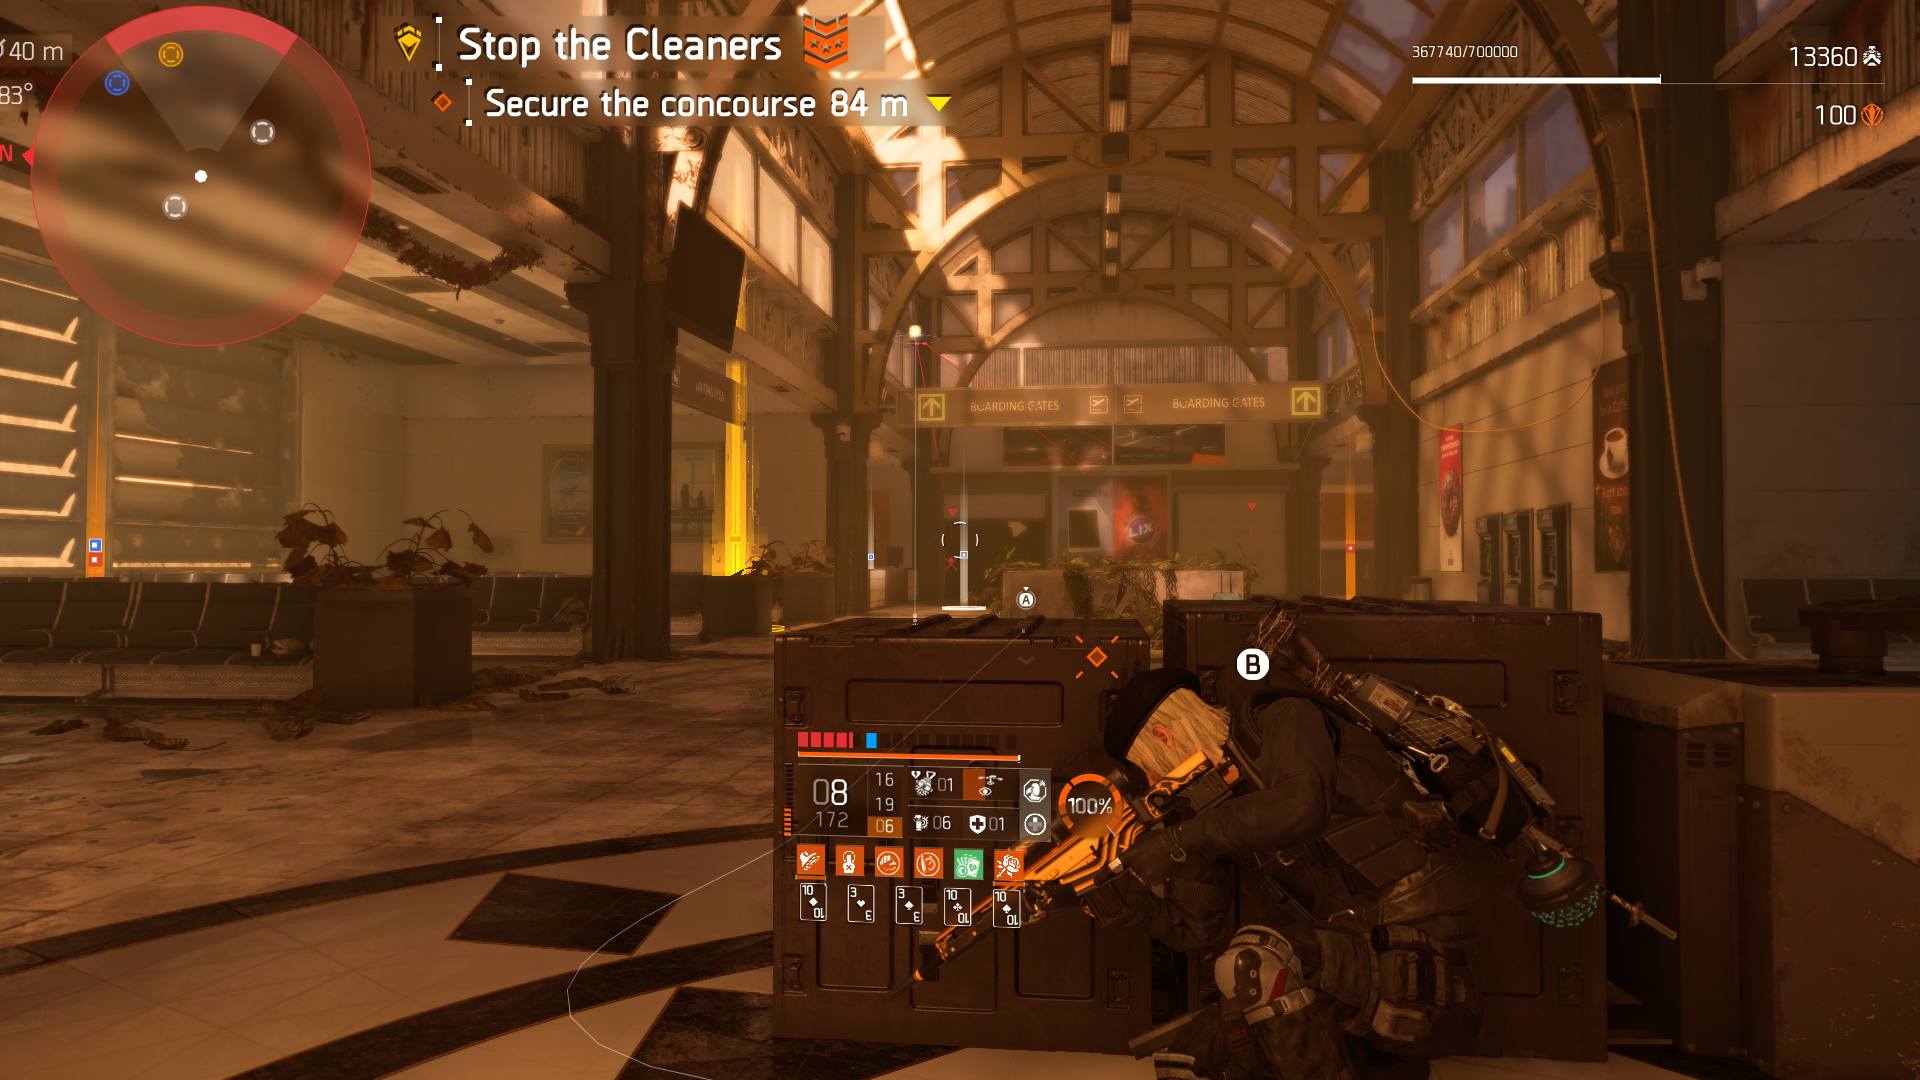
- Secure the concourse
- Enter area to trigger combat
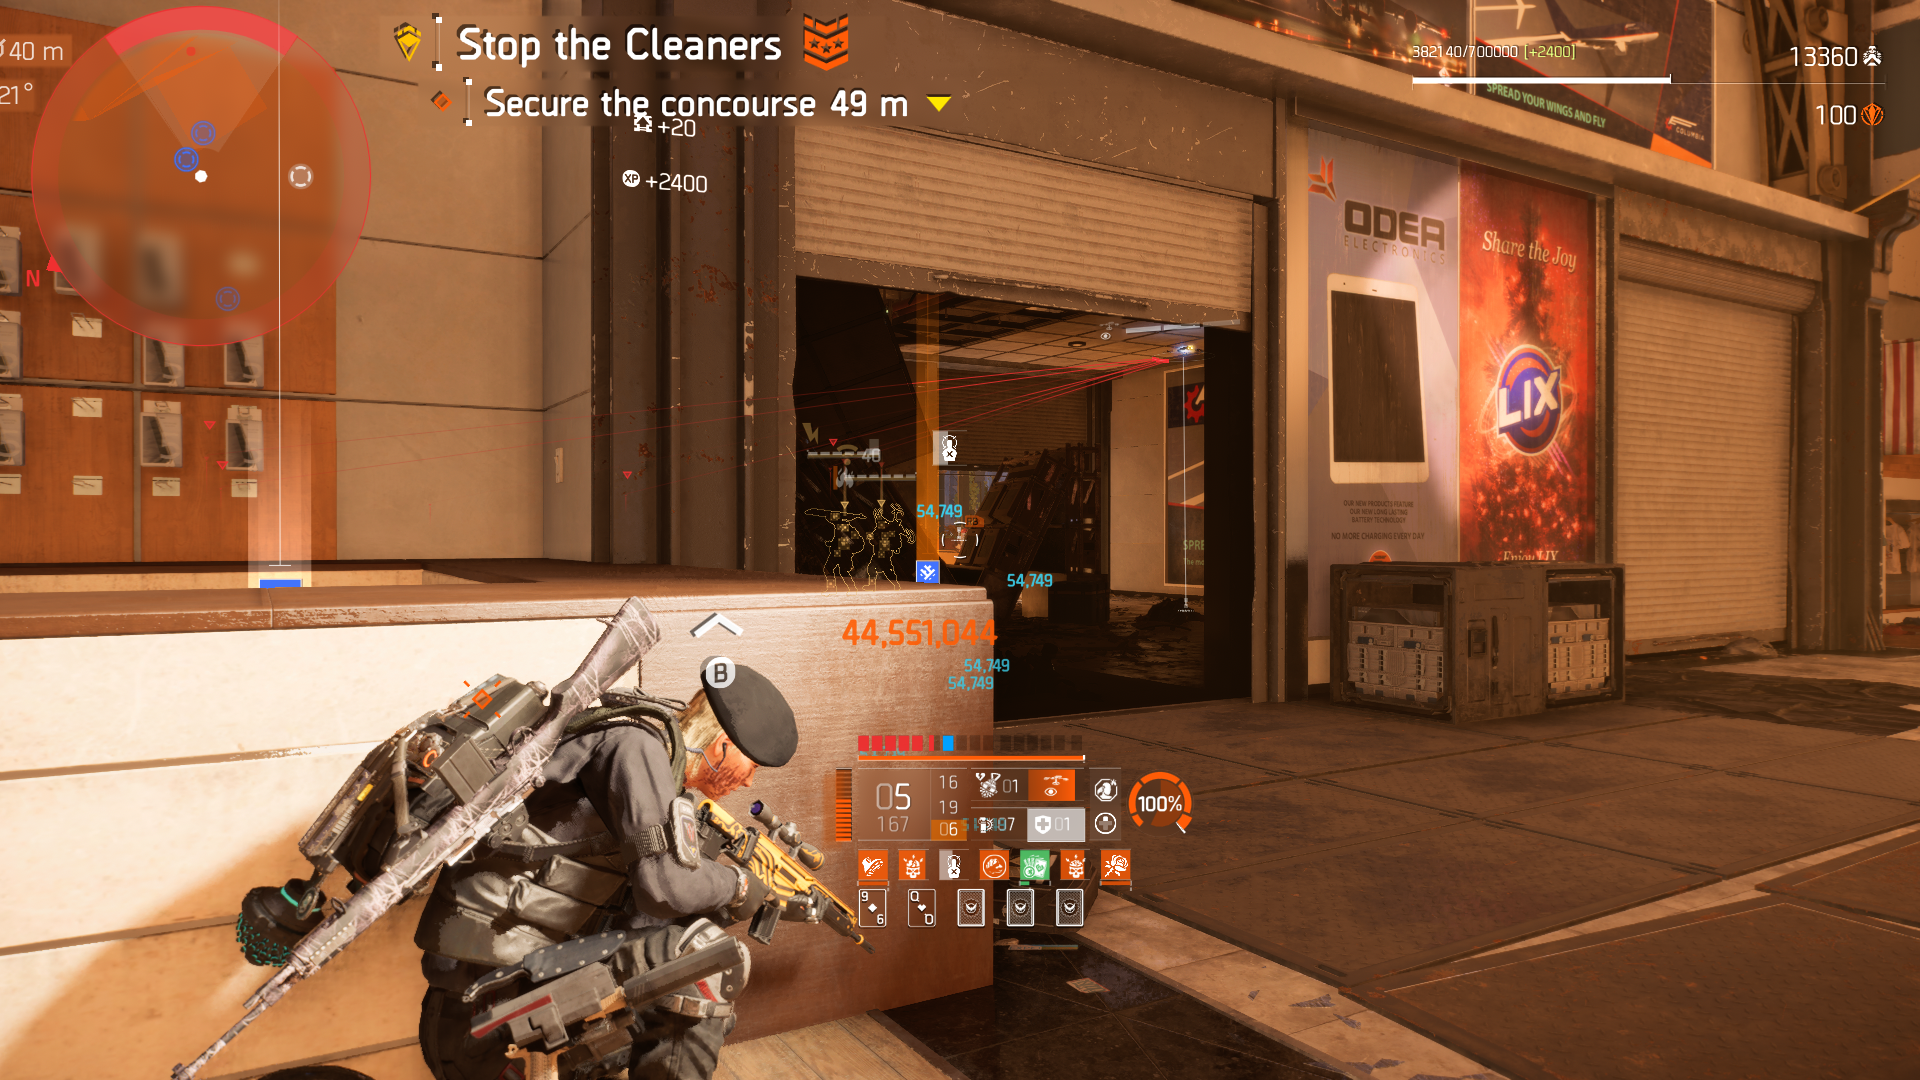
- Position go back to previous area in cover center or corner wall again
- Kill mobs will all come to you safely
- Will need to move up near entrance to kite mobs in at times
- Heavy Cleaners 4
Sixth Phase
- Reach the tarmac
- This is a checkpoint so you can replay this part again if you die
- Open door to tarmac
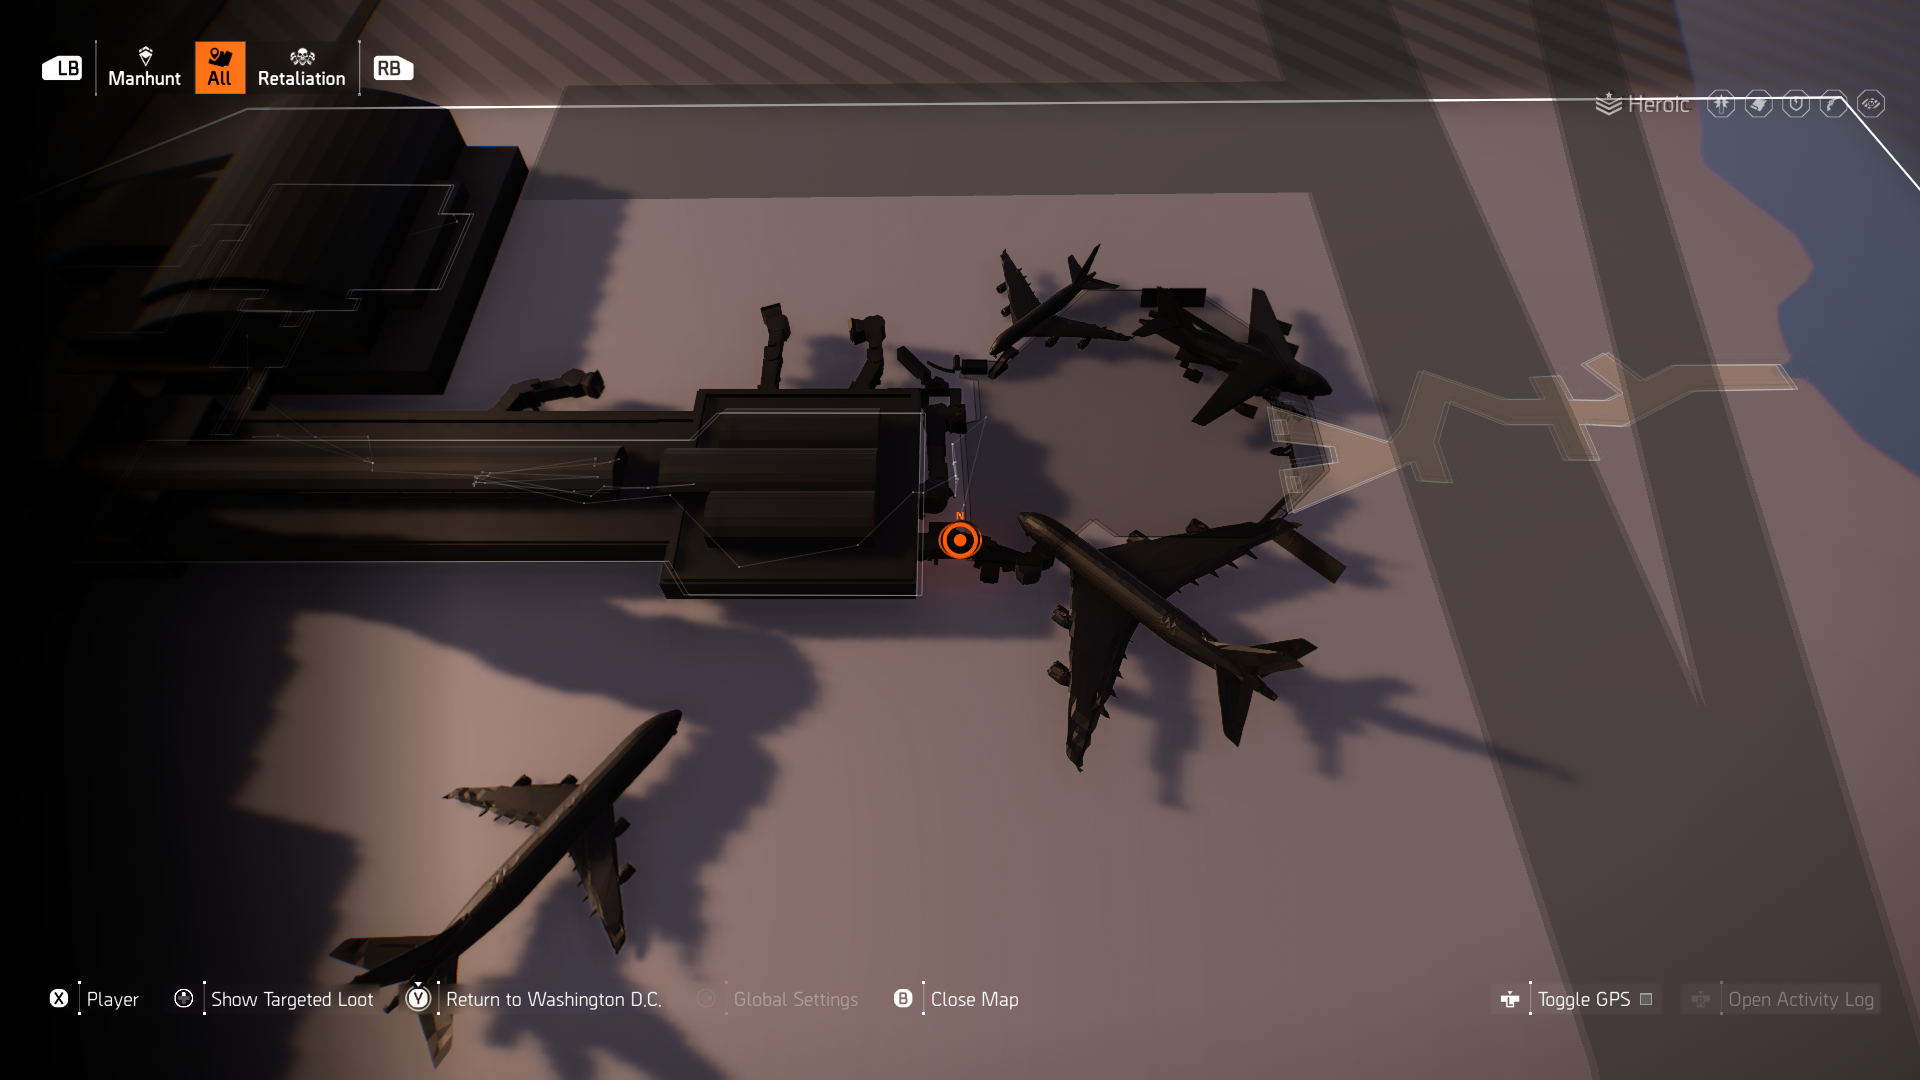
- Once on tarmac run to right immediately stick to far right corner
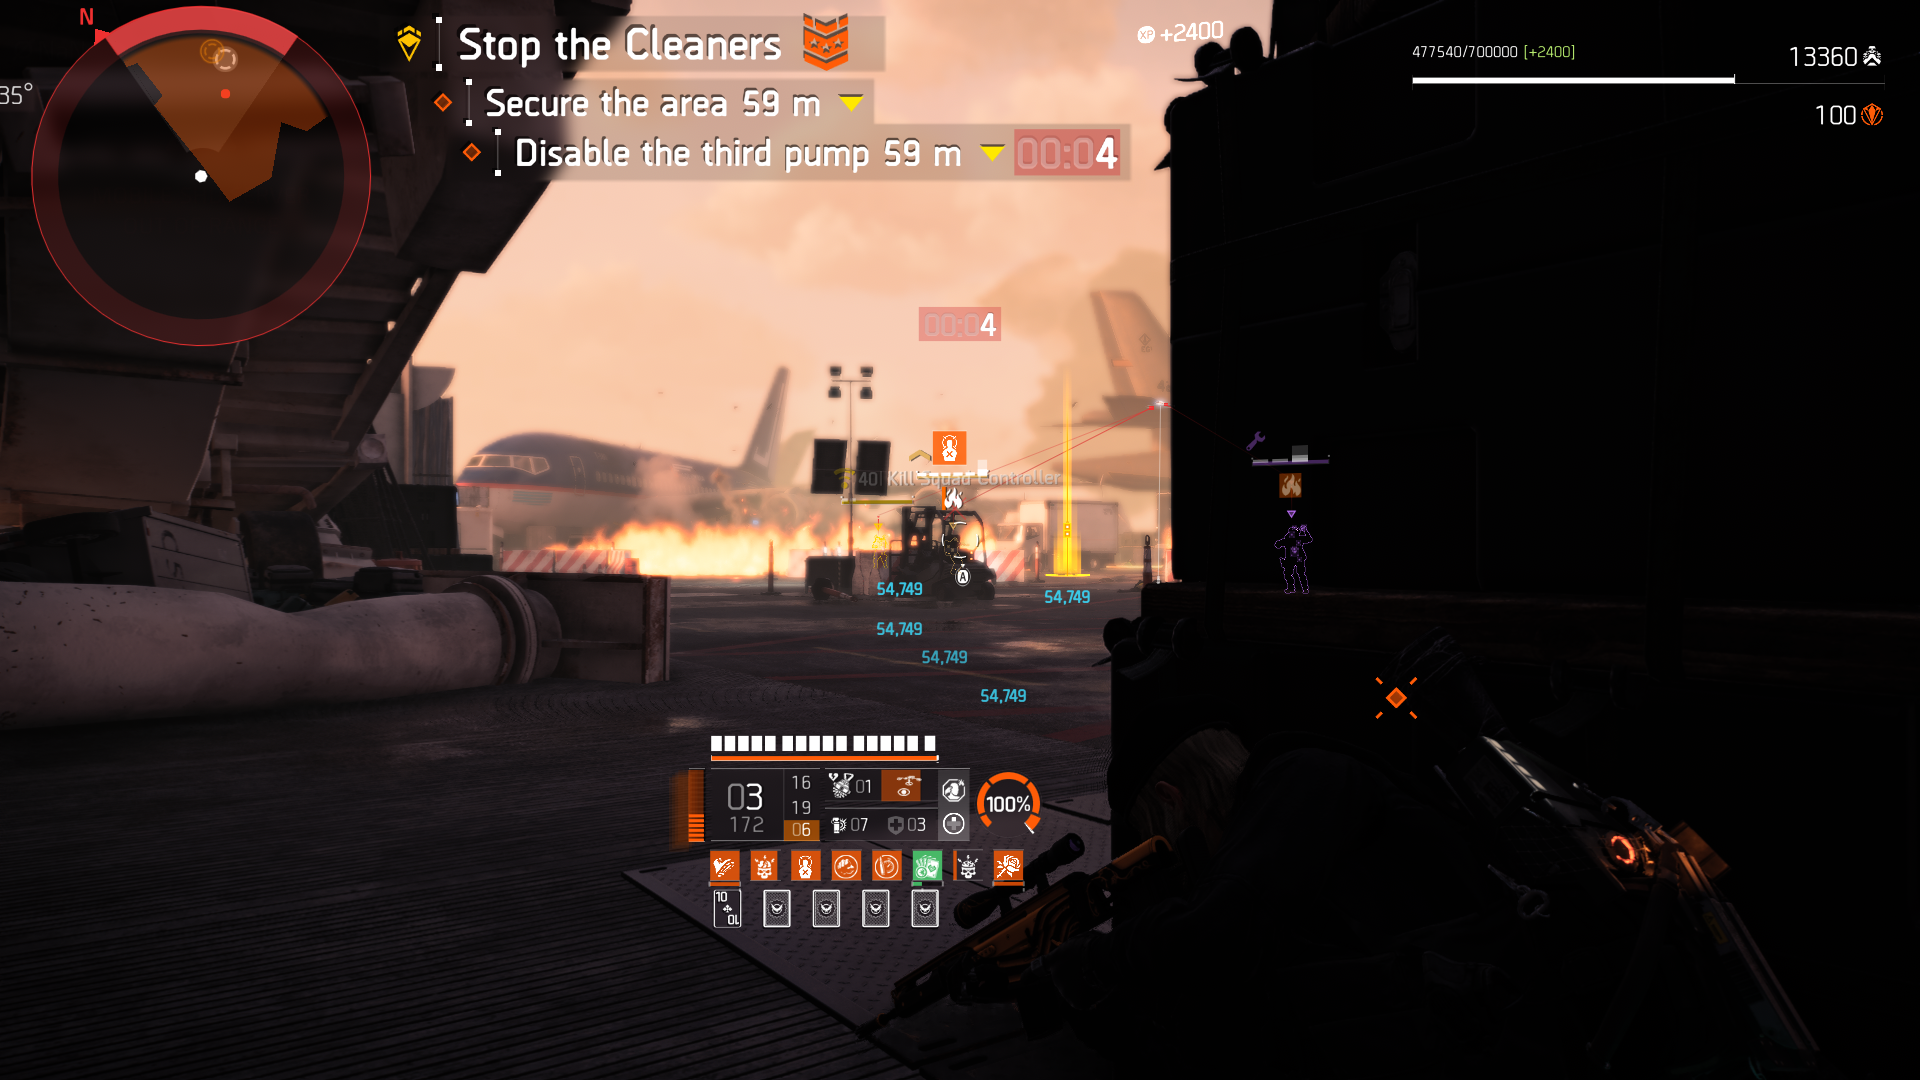
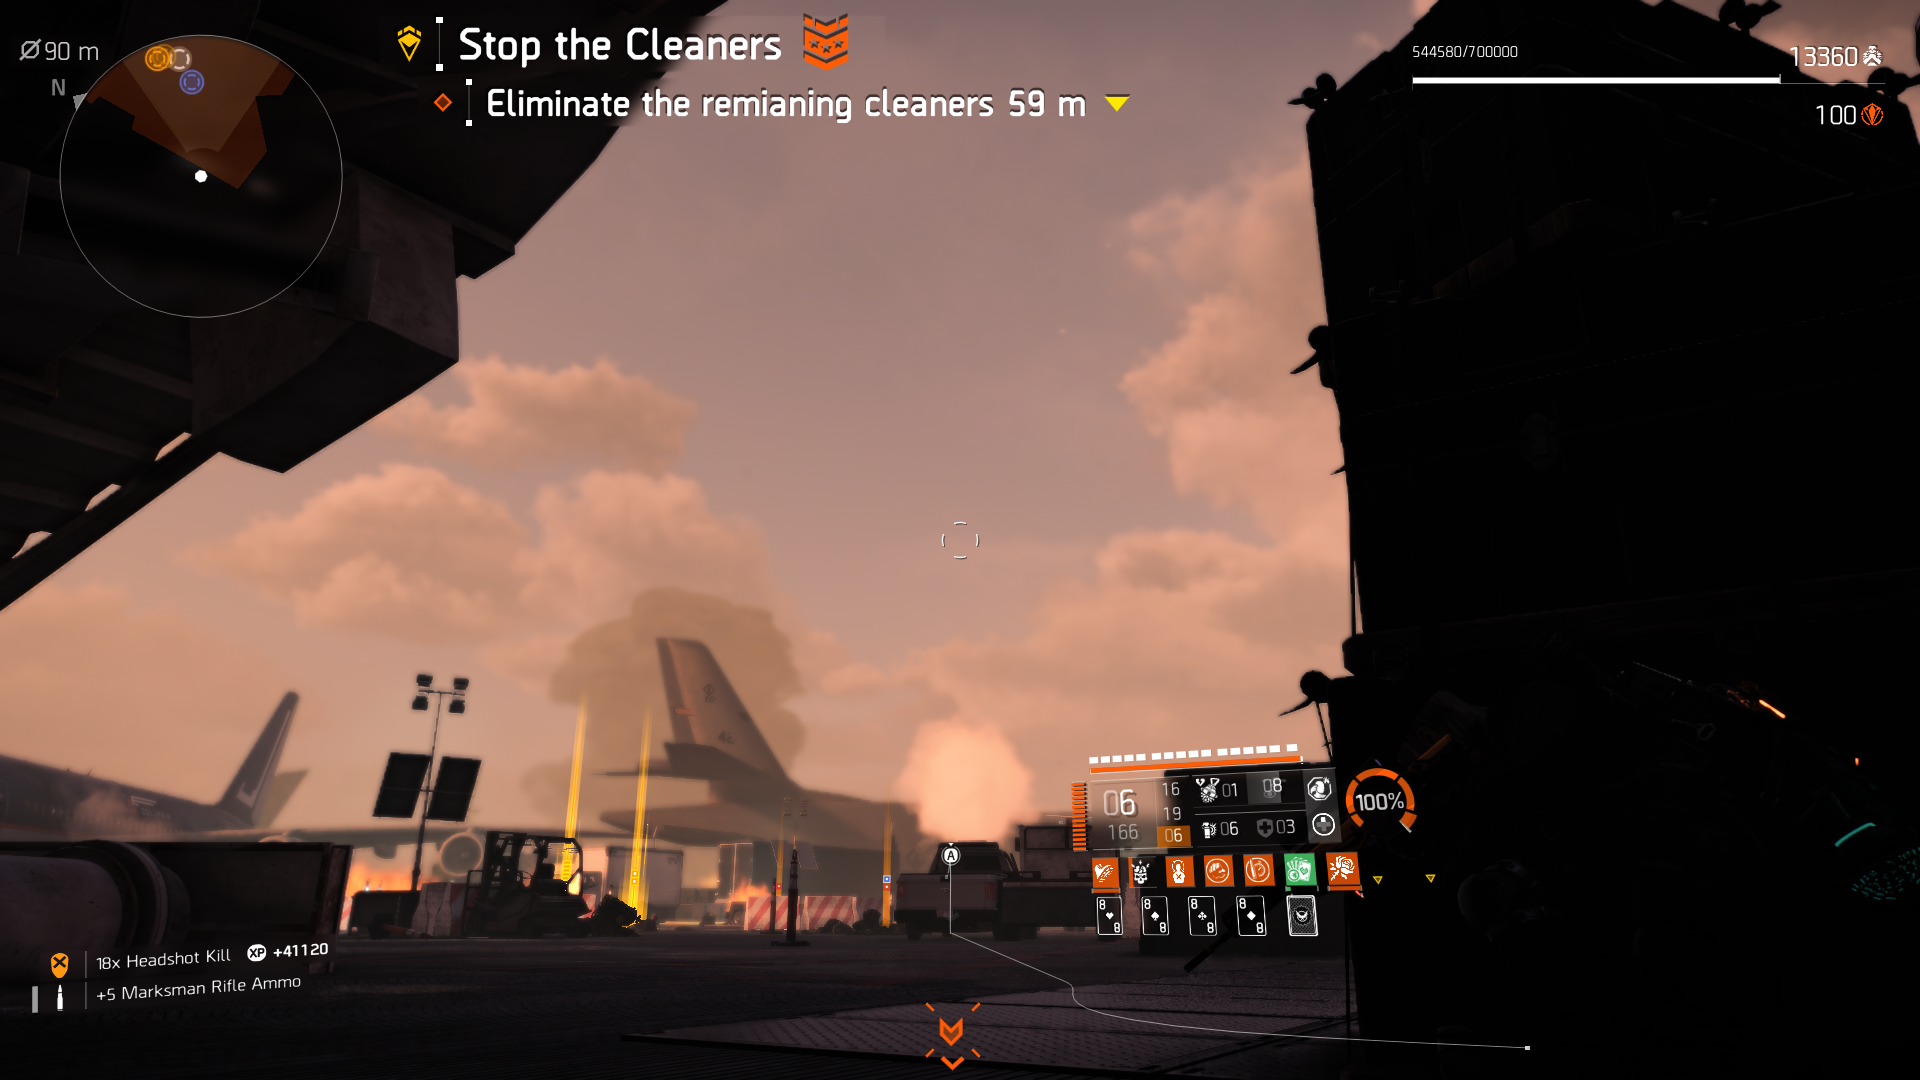
- Position big black crate under roof structure (see pics)
- Entire phase can be cleared from this position
- Stay here entire phase gives you tons of time and space
- No mortars can hit you in this spot
- Ignore pump notices, we don’t need to do this
- Watch out for close spawning enemies on right
- Heavy Cleaners 3-4, was hectic lost track
- Warhounds easy snipe didn’t rush my position
- Bobby Guzman spawns from large plane with ramp other side of map
- Headshot to kill Bobby is best from our stationary position
- Bobby Guzman can be killed while he is in middle of tarmac, did not sprint to me
- Once Bobby Guzman is down just finish off the rest of the mobs left
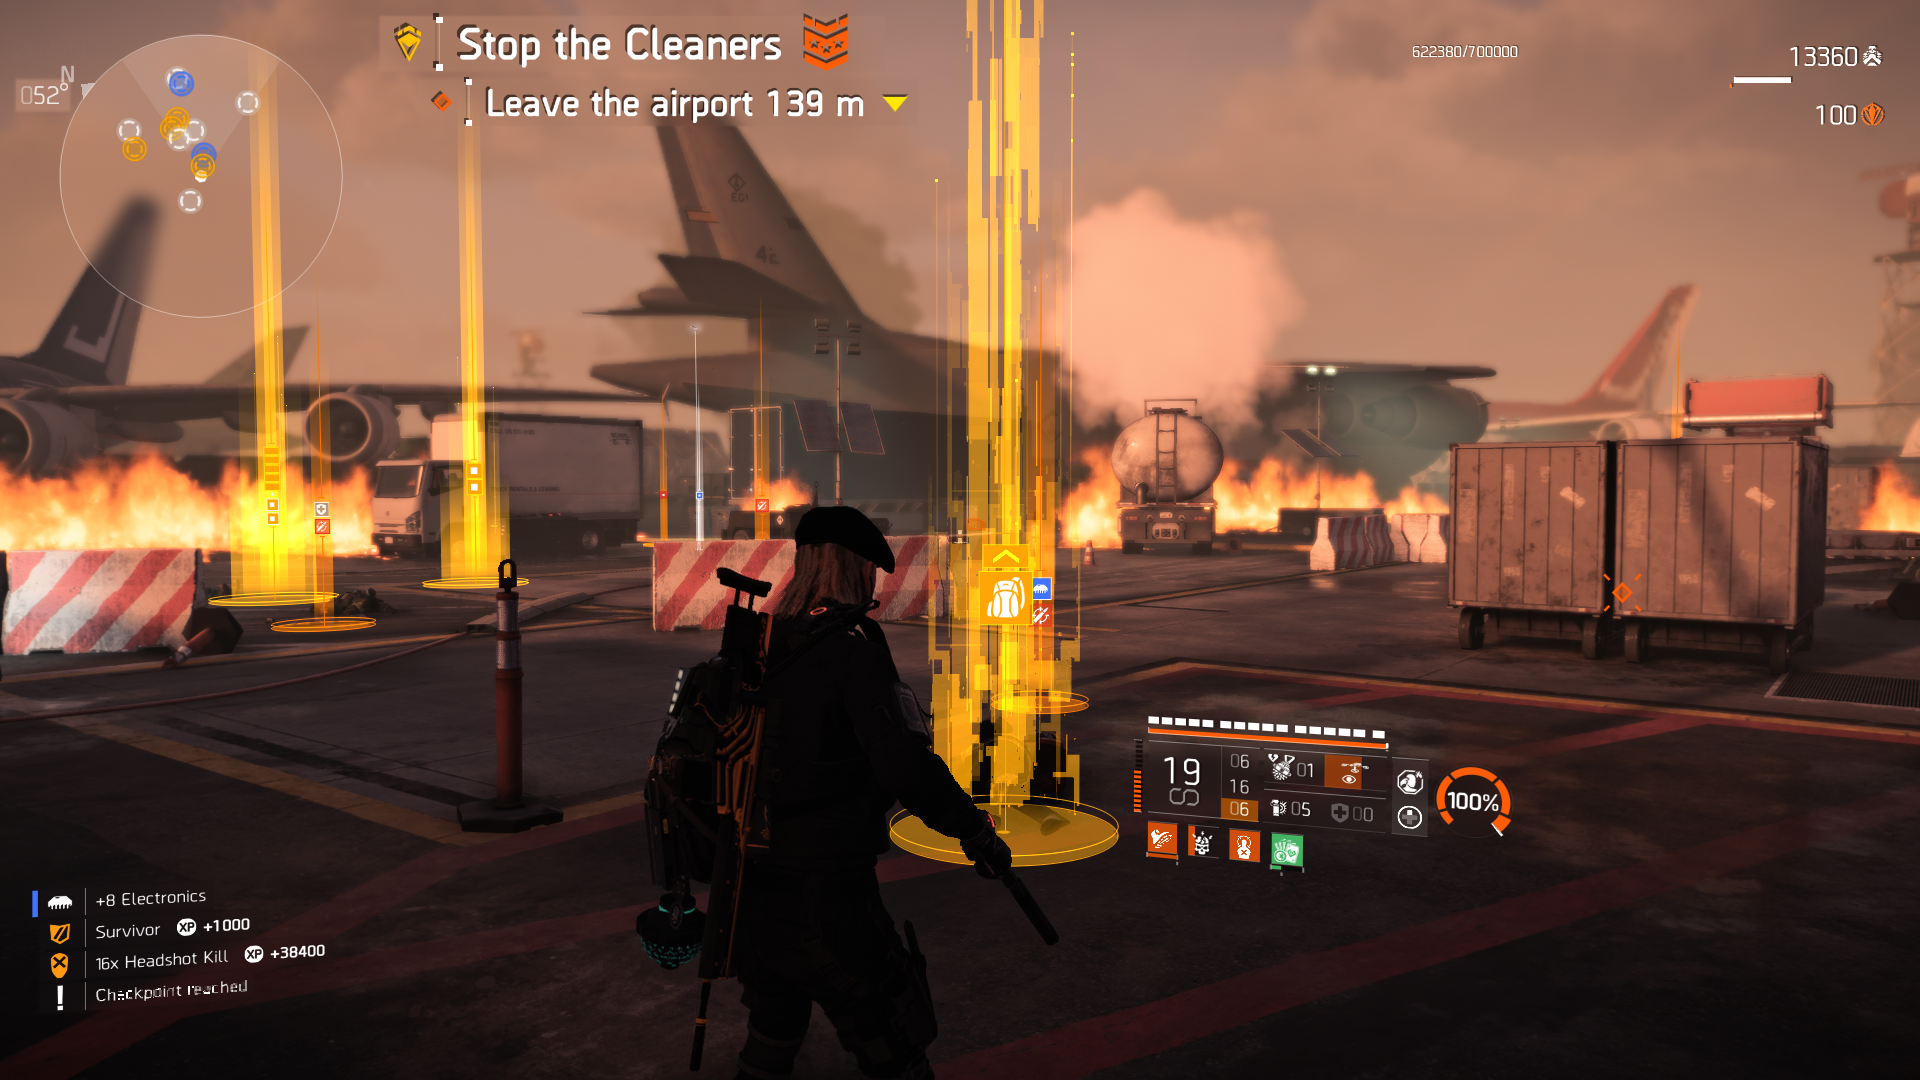
- Leave the airport no timers to rush you
- Reach end of mission checkpoint, will receive exotic gloves Loaded for Bear here if first time.